Manage database in Heroku with PostgreSQL
As described in previous articles, the Heroku Cloud service offers different types of databases. The database is needed to permanently save the results sent to QuizFaber's remote server.
In our description, we have chosen the PostgreSQL database as the only one totally free on Heroku (unlike the local installation of the QuizFaber server where MySQL is used) .
Also in the previous article, we saw how to create a PostgreSQL database and how to associate it with the app that represents the QuizFaber remote server. Now we need to populate it with tables. This operation is not graphical, as in previous configurations, but is performed from the command line . On Windows it is the DOS Prompt .
The steps to follow are as follows:
- Download and install, on your PC, the database client, PostgreSQL
- Download and install, on your PC, the cloud app client, Heroku CLI
- Execute some instructions from the command line (in Windows, the DOS prompt)
In detail:
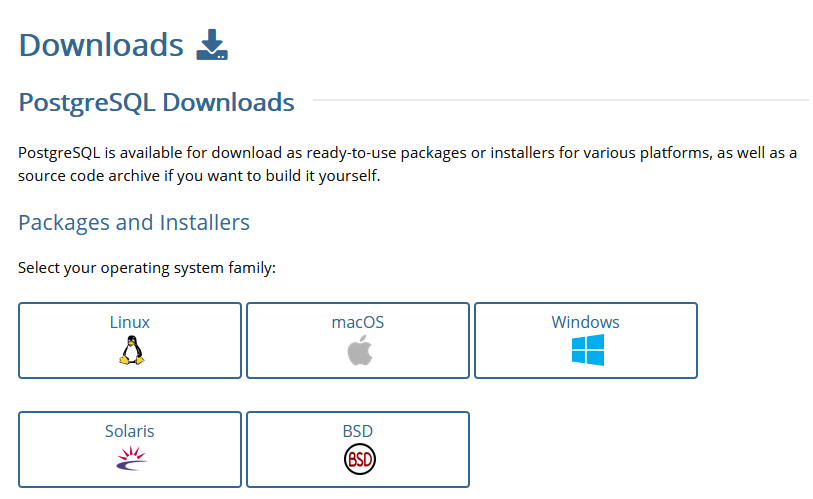
1) Download and install PostgreSQL from the www.postgresql.org website:
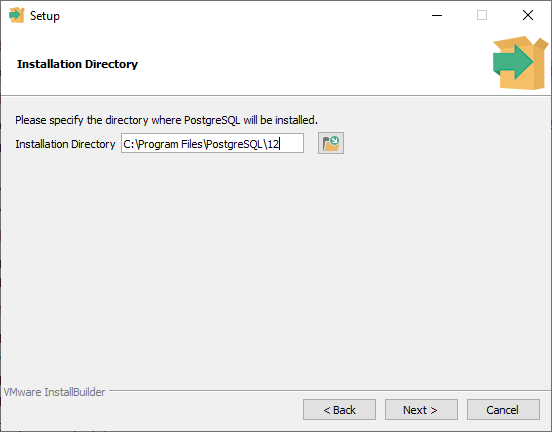
During the installation phase, copy and paste the directory where PostgreSQL will be installed: you will need it later:
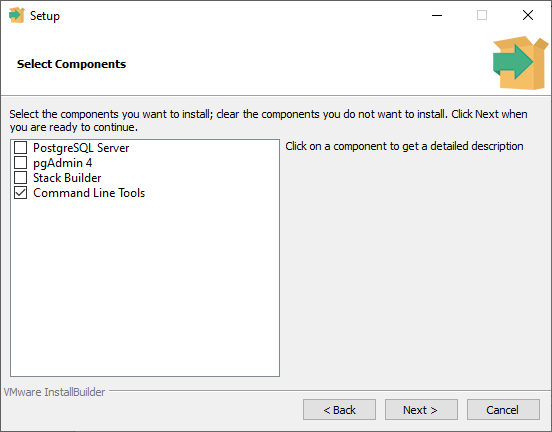
It is not necessary to install all the PostgreSQL server, but only the client part, so during the installation phase remove all the ticks except "Command Line Tools", as shown in the following figure:
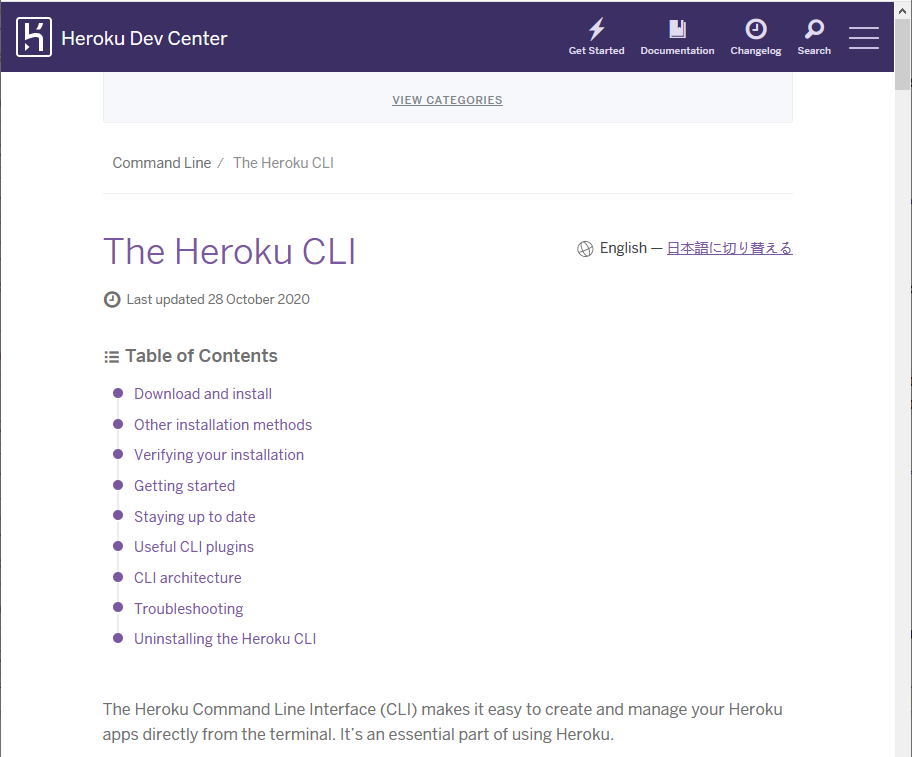
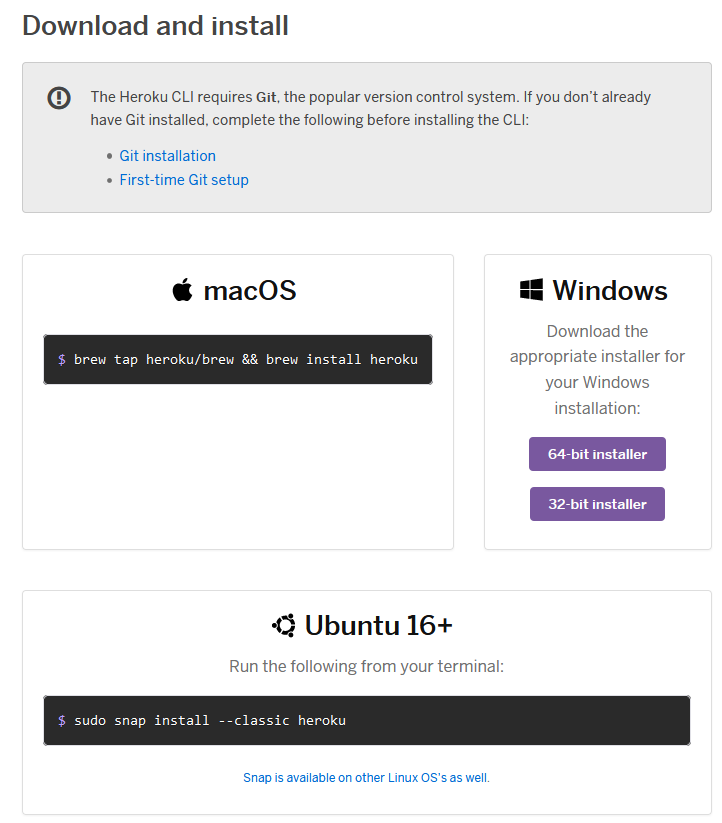
2) Download and install Heroku CLI from the devcenter.heroku.com/articles/heroku-cli.
Heroku CLI is the Heroku client, it allows you to perform operations on apps and databases from the command line, without using the website's graphical interface.
To verify that Heroku CLI has been installed correctly, run the following commands from the command line (in Windows, the DOS prompt):
-
The Heroku CLI version:
heroku --version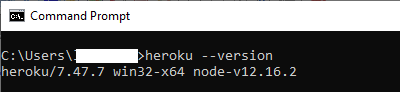
-
The association between app and database :
heroku addons
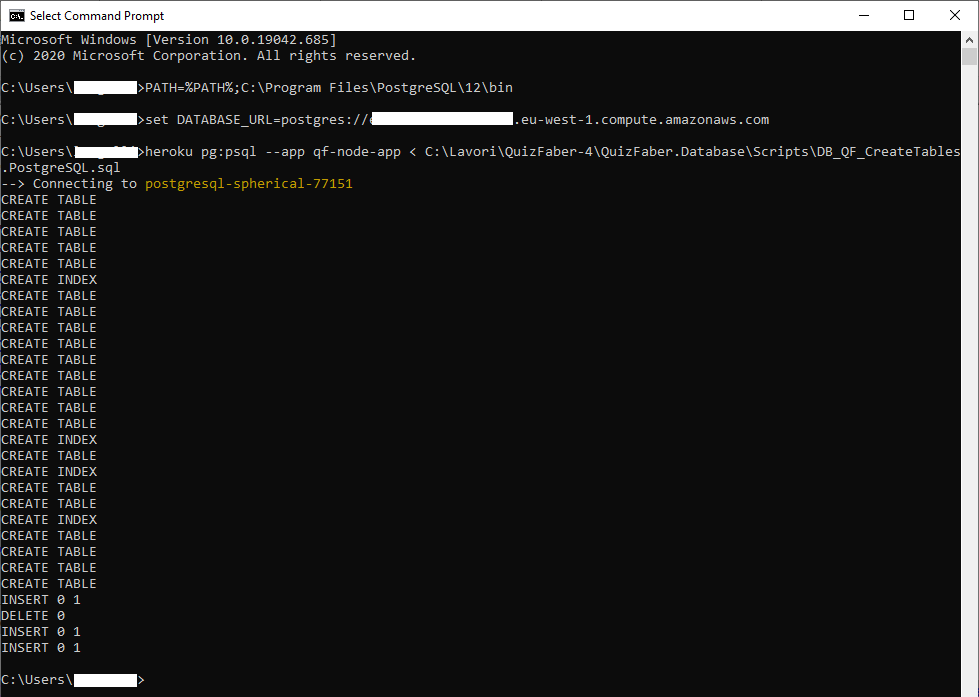
3) From the command line (for example, in Windows, the DOS prompt), execute the following instructions:
PATH=%PATH%;C:\Program Files\PostgreSQL\12\bin
set DATABASE_URL=postgres://NNNNNN.eu-west-1.compute.amazonaws.com
heroku pg:psql --app qf-node-app < C:\path\DB_QF_CreateTables.PostgreSQL.sql
The parameters to configure are in red , and they are the following:
C:\Program Files\PostgreSQL\12\bin:
the directory where PostgreSQL was installedNNNNNN.eu-west-1.compute.amazonaws.com:
one of the database parameters, already seen in the Heroku portal, in the database Settings, URL parameter, as explained in the previous articleqf-node-app:
the name of the app created in Heroku, as explained in the previous articleC:\path\DB_QF_CreateTables.PostgreSQL.sql:
the SQL script (absolute path) to be executed that populates the QuizFaber database, can be downloaded at this link
Here is an example of execution from a DOS prompt:
Finally, to verify that everything has been configured correctly, run the command:
heroku pg:info --app qf-node-app
(where qf-node-app is the app name)
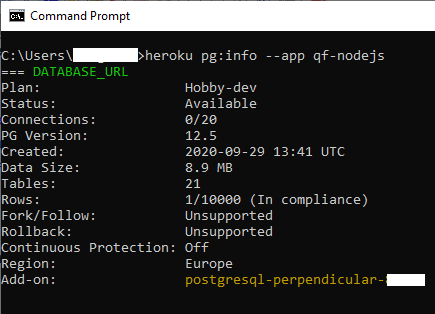
As you can read, the number of tables (Tables) is 21, so the QuizFaber database has been correctly configured.
Related topics
- Deploy QuizFaber Node.js server to the cloud
- Create repository in GitHub
- Create web app in Heroku
- Create database in Heroku
- Manage database in Heroku with PostgreSQL
- Advanced management of database and app in Heroku
- QuizFaber configuration of remote server
- Read the quiz results from the remote server