Create repository in GitHub
GitHub is a free hosting service for software projects.
This chapter shows you how to create a new account on GitHub and consequently a new " repository ". Those who already have an account on GitHub can skip the registration phase and go directly to creating the repository.
In the GitHub repository you will upload the source code of the QuizFaber server, which is distributed free of charge from the QuizFaber site and can be downloaded from this link .
This operation is preparatory for the next phase, the creating a web application in NodeJS that will allow you to "run" the QuizFaber server.
Whatever cloud platform will be chosen, the connection to the GitHub repository will always be necessary so that the "deploy" (the creation of the web application) takes place. The web application is nothing more than the server to which the quizzes produced by QuizFaber will connect to save the results.
The procedure is as follows:
1) With your favorite browser, connect to the site: www.github.com and click on the "Sign up" if you haven't registered yet, or "Sign in" if you have already registered:

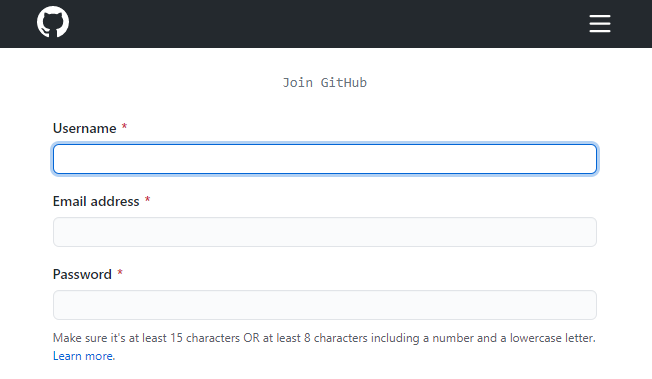
2) In case of registration, enter a username of your choice, your own email address and choose a new password:
3) Go through the verification process by following the instructions, then press the " Create account "
button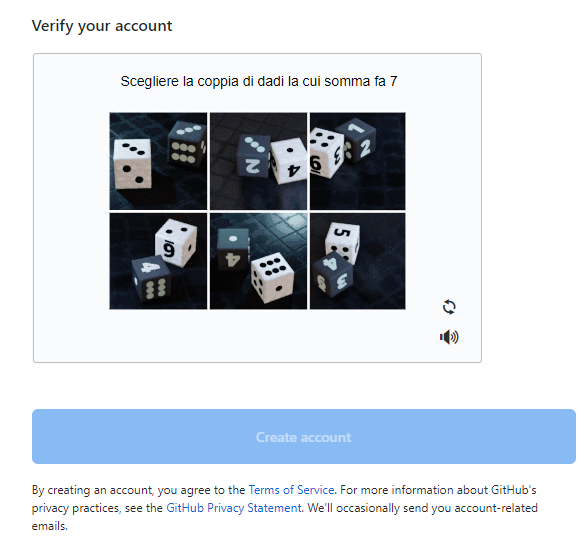
3) You can avoid answering the survey by scrolling the page to the bottom and pressing the " Complete setup " button:

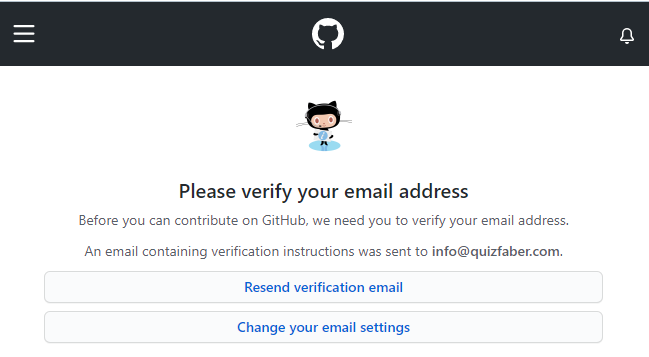
4) Wait for the verification email to be received:
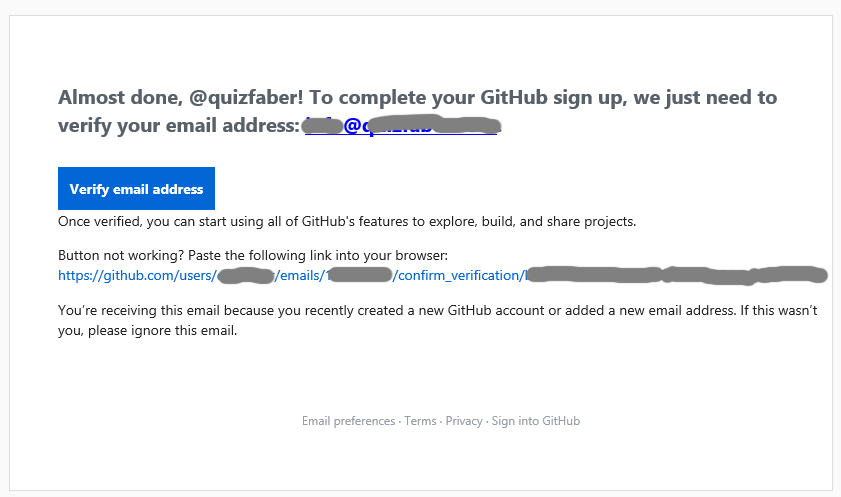
5) Open the message received by mail and click on the link "Verify email address":
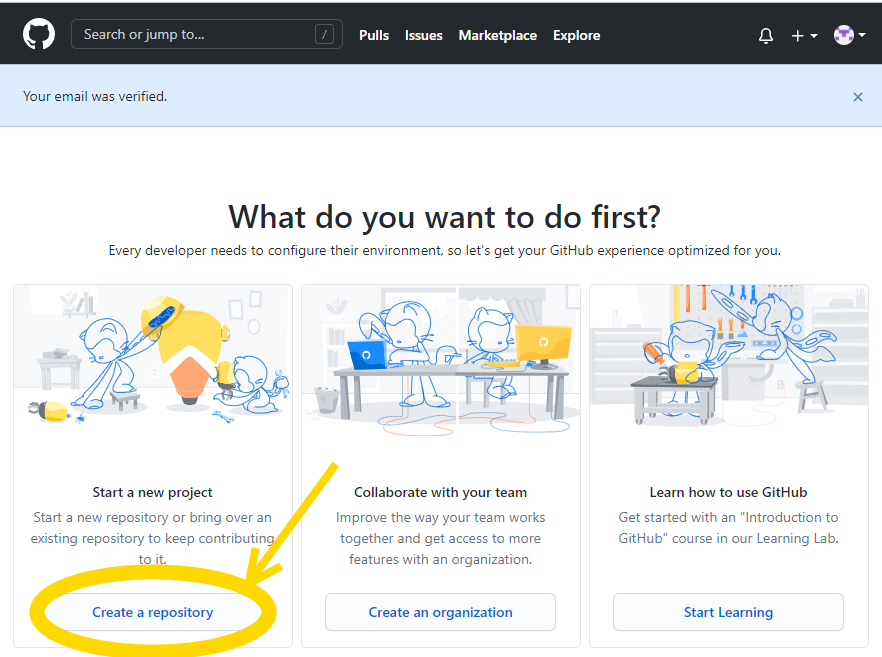
6) Click on link "Create a repository" :
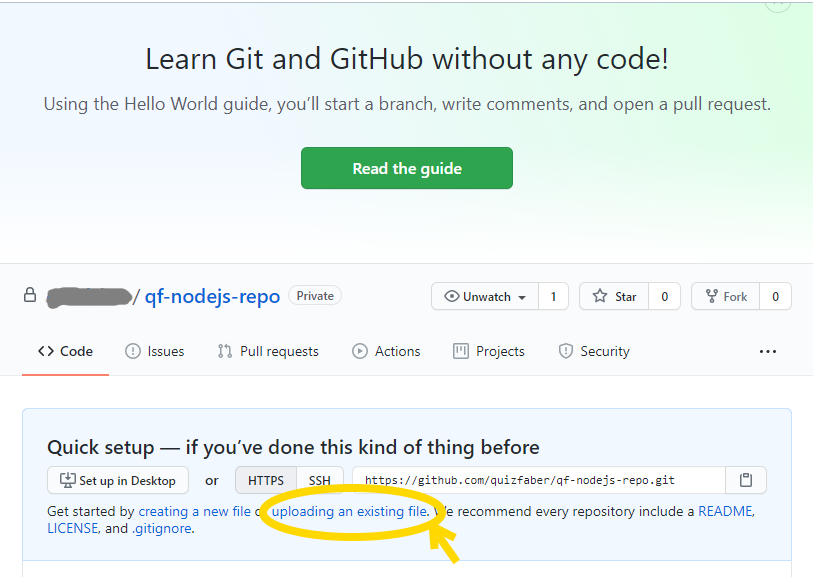
7) Choose a repository name (in the example: "qf-nodejs-repo"), select " Private " and press the " Create repository " button :

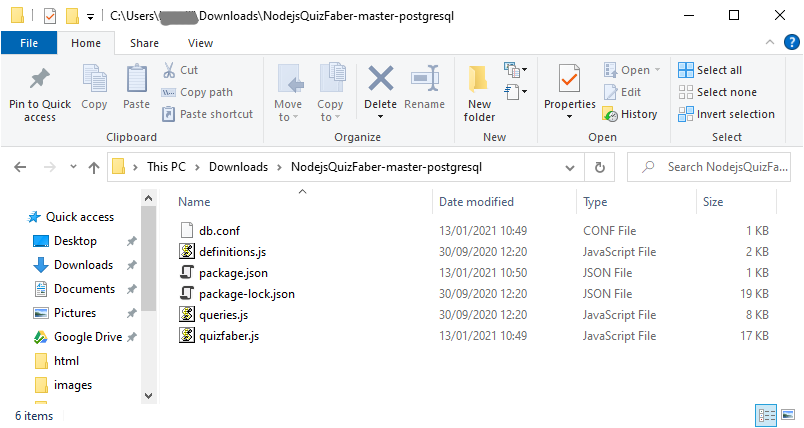
8) Download the QuizFaber Server source codes from this link , unzip the ZIP so to have them in a local folder:
9) then go back to GitHub and press the link " uploading an existing file ":
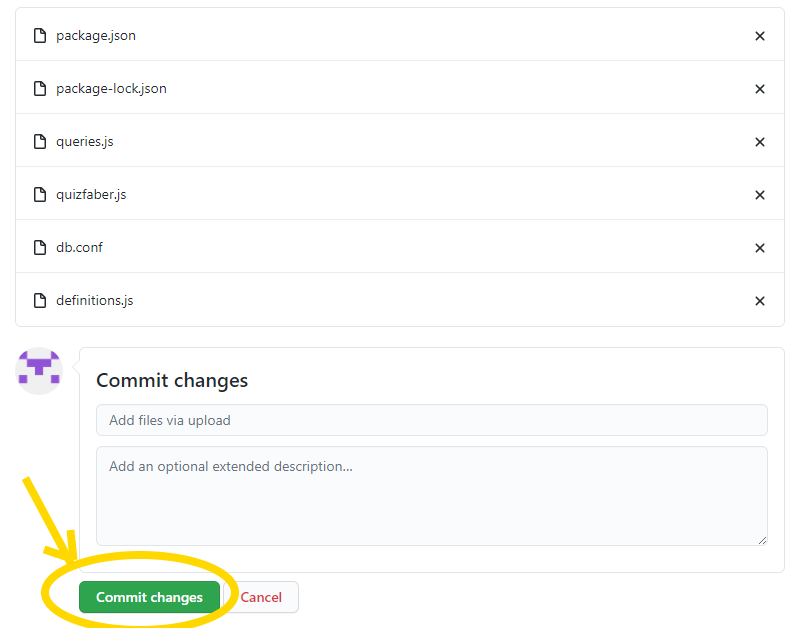
10) Upload the files, previously downloaded to your PC, by dragging them into the window:
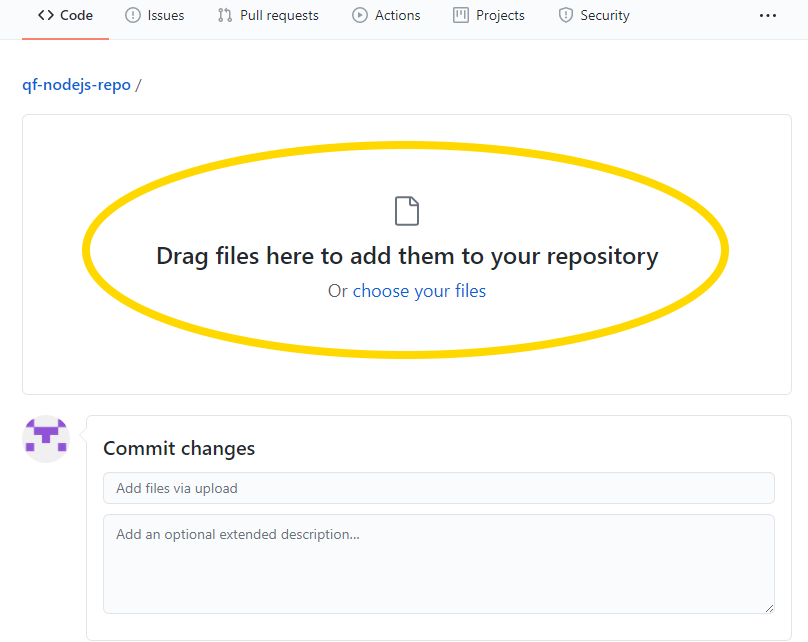
11) When the upload is complete, press the "Commit changes" button
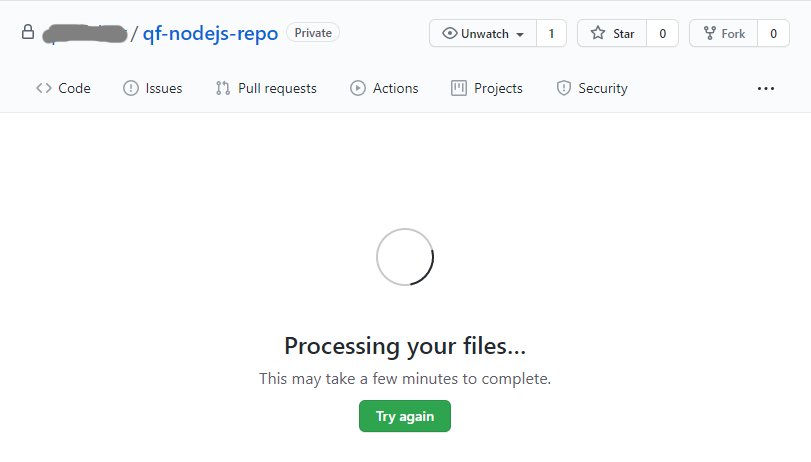
12) The files are processed ..:
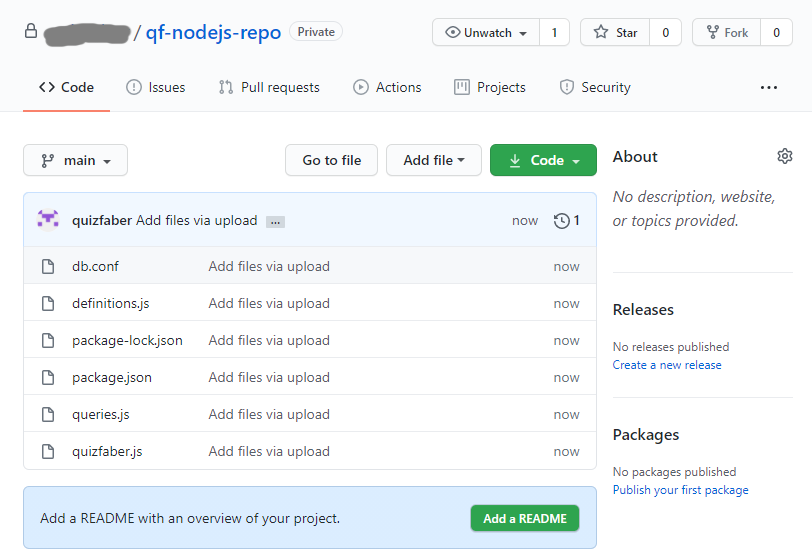
13) Finally, the files are uploaded to the GitHub repository!
Related topics
- Deploy QuizFaber Node.js server to the cloud
- Create repository in GitHub
- Create web app in Heroku
- Create database in Heroku
- Manage database in Heroku with PostgreSQL
- Advanced management of database and app in Heroku
- QuizFaber configuration of remote server
- Read the quiz results from the remote server